“How to Make Floating Shelves Without Brackets: A DIY Guide”
floating shelves
My first suggestion for a DIY project involving floating shelves is to start by measuring the wall space you plan to use for the shelves. This will help you determine the size of the shelves you need to purchase. Once you have the measurements, you can purchase the shelves and the necessary hardware.
Next, you’ll need to mark the wall where you plan to install the shelves. Use a level to make sure the shelves are even and straight. Once you have the marks, you can use a drill to create the holes for the screws.
Finally, you can install the shelves. Make sure to use the appropriate screws and anchors for the wall type you are working with. Once the shelves are installed, you can add any decorations or items you want to display.
I hope this helps you get started on your DIY project involving floating shelves. Good luck!
How to Make Floating Shelves Without Brackets | DIY Creators
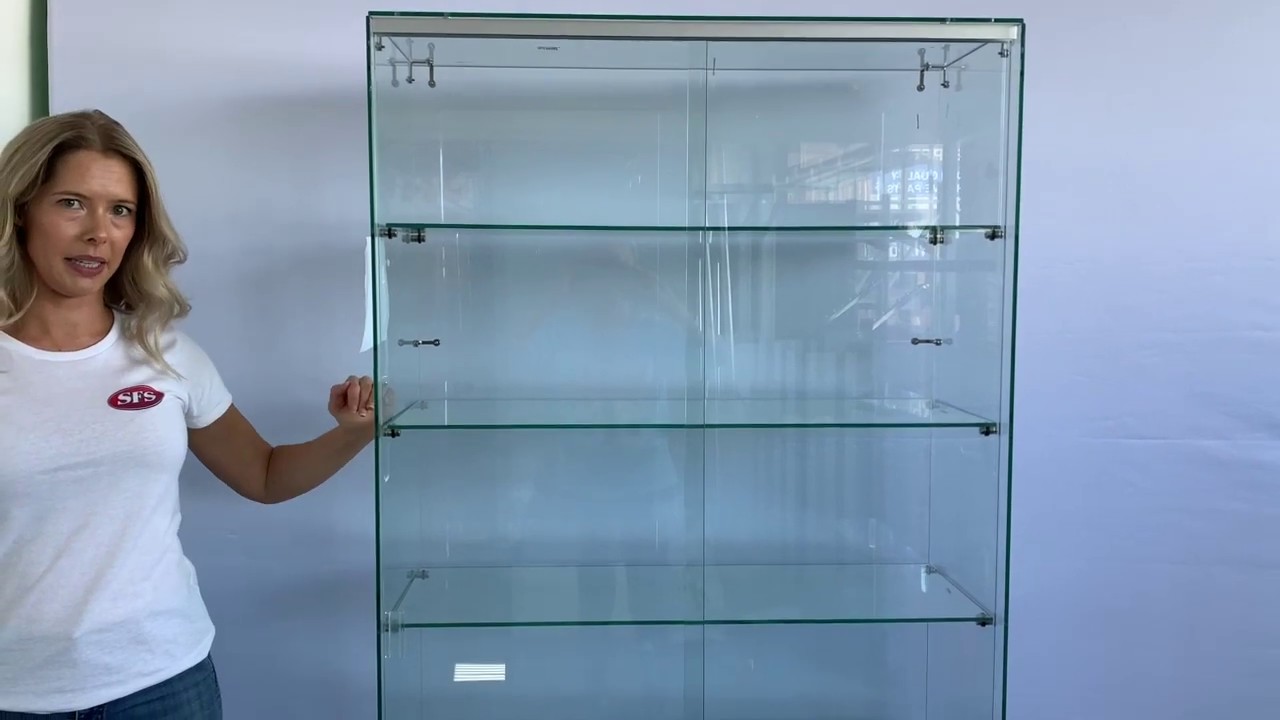
Floating shelves are a great way to add storage and style to any room. They are easy to install and come in a variety of sizes, materials, and colors. They can be used to store books, plants, pictures, and other items. They can also be used to display art and other decorative items. Floating shelves are a great way to maximize space and create a modern look. They are also easy to clean and maintain. With a few simple tools and some basic instructions, anyone can install floating shelves in their home. They are a great way to add storage and style to any room.
Easy DIY Floating Shelves No Bracket
Floating shelves are a great way to add storage and style to any room. But what if you don’t want to use brackets to hang them? Here’s how to make easy DIY floating shelves without brackets.
Gather Your Supplies
To make your own floating shelves, you’ll need some basic supplies. You’ll need wood, screws, drill, saw, sandpaper, and wood glue. You’ll also need a few other items such as a level, measuring tape, and a stud finder.
Cut the Wood
Once you have all your supplies, you’ll need to cut the wood to the desired size. Measure the area where you want to hang the shelves and then cut the wood to the appropriate size. Make sure to use a saw that is appropriate for the type of wood you are using.
Sand and Glue
Once the wood is cut, you’ll need to sand it down to make sure it’s smooth. Then, use wood glue to attach the pieces of wood together. Make sure to use enough glue to ensure a strong bond.


Drill and Hang
Once the glue is dry, you’ll need to drill holes in the wood for the screws. Use a stud finder to locate the studs in the wall and then drill the holes accordingly. Once the holes are drilled, you can hang the shelves using the screws.
Enjoy Your New Shelves
Once the shelves are hung, you can enjoy your new floating shelves. You can use them to store books, plants, or any other items you want to display. With a little bit of effort, you can create beautiful and functional floating shelves without the need for brackets.
Easy DIY FLOATING SHELVES No bracket | DIY CREATORS 2025
Loading shelves can be a great way to enhance and freshen up your space and whether you’re looking to add some change to your bedroom or you’re just looking to give your bathroom a quick facelift they can go a long way but you don’t have to stop there maybe
You also want a solution to keep your gear organized now what make this appealing is for less than ten dollars you can create all three shelves without any hardware stay tuned and i’m gonna show you exactly how it’s made and before we continue here’s a list of things that you’ll need
To build your shelves you’ll need one two inch by eight inch by eight foot lumber you’ll also need a 36 inch oak dowel and in many hardware store you can have the lumber cut to size but for those who have tools all you need is a circular saw
A drill a sander and a half inch bit now i want to cut this number down into three equal parts but being that i have a chip corner i’m going to mark and then remove that first The final length of each board will be just shy of 31 inches and after mark in the area i’m gonna now add a piece of support under the bottom to catch the wood after it’s cut i also want to check the depth of my blade so i don’t go all the way through
The support so i’m going to lift the saw up a bit just so it barely touches the support and using a speed square is a quick and simple way to keep the saw straight as you’re ripping through the lumber now repeat the same step two more times and that’ll get you three shelves Next i’m using a three foot section of half inch dowels and what i’m going to do is mark that to four inches and you should end up with nine pieces it’s going to be three of these per Shelf now the next thing we want to do is mark three location for the dowels i’m going to mark the very middle and then two inches from the outside on both sides Next you want to find the center point of each line and put a mark now i’m going to take a half inch bit and then i’m going to put tape around it and this is going to be setting the depth of the dial you can use a phillips screwdriver or an
Owl to mark the point and this would help the bit to stay focused and not wander off now just repeat the same step for all nine holes and while this is clamped let’s go ahead and sand it down and clean up this area now i do feel like it would be easier to
Drill the hole first then cut the wood because this way i know everything will be lined up perfectly i’m going to use the guide that came with a circular saw and set it to make an inch and a half cut then lock it in place and of course if
You have a table saw this would be a much easier process to tackle and you can go ahead and rip that on your table saw as well and with this demonstration i’m showing with the circular saw just want to be sure to hold on with a circular saw with two
Hands if need be to try and control the saw so it doesn’t wander off now it will be easy to get these mixed up so what we want to do is mark each one of them and also put marking points so we know which side go where
And which pieces go with which piece i use the half inch bit and also half inch dowels now this make it difficult for the dials to slide in and out of the holes so that’s fine for the back part of the shelf and we want to hammer that in
But for the front side of the shelf i’m going to mark these and then sand down this section here we need the extended part of the dial to slide in and out of the shells fairly easy and the best way for me to sand this
Down was to place one side in the chuck of my drill and then i’ll take sandpaper and hold it alongside of the dowel now you don’t want to overdo it you just want to make sure that the dowels slide in and out of the hole easily now just repeat the same process over
And over until all of them is done now you can move on to sanding down all the shells and you can also round over the ends using a router or you can use the sander so right now i’m going to line up the pieces i’m going to drop the dial pins
Inside of them and i’m going to hammer those down we want to lock them in place at this point you can use wood glue but i think they’re tight enough that we don’t really need it and as you can see here the pins slide in and out of the shelf
Just fine and that’s really what i was going for so just repeat the same steps for the remaining shelves the next thing i want to do is to lock the shelf into place so what i’m going to do is install a screw right through the dial and into the wood
We do want this to be tight so put a clamp at this area here pre-drill and countersink the screw and although you could add one at each dowel section i believe one in the middle would be just fine so to prep the shelf to take
The stain i’m going to use one coat of minwax pre-stain conditioner for the viewers that aren’t really familiar with the pre-stain conditioner what this does is to help avoid any blotchiness from your stain and after the conditioner dries i’m going to lightly sand it down and the next step will be adding the
Stain now there is a few ways to apply stain my favorite technique is the wipe on technique where you just apply it and then you remove it with a rack and i also like to use the minwax gel stain The next step to finishing the shelf is putting on a top coat and i’m going to be using a spray-on polyurethane now i usually add two to three layers of top coat and sand lightly between each one of them when it comes to the polyurethane you can use the brush on
Version the wipe on version or you can just spray now i do prefer to use a spray for a project like this because it’s less mess and you don’t have to worry about a whole lot of cleanup the first step to mounting the shelves
We want to add a few holes in the back bracket and to do so you want to level that then find the stud in the wall next make a mark on the back bracket and on the wall if you don’t have a stud finder you could use a screw-in wall anchor such as
These which is rated for 50 pounds each and to speed up the process we’re going to transfer the marking over to the other two pieces of wood then we’re going to put some cross marks on those and drill a hole there now i just eyeballed this section here
But all you need to do is drill about half inch in because we want the screw to be able to go through the wood and into the wall but not interfere with the shelf itself now you’re going to place the wood over the mark that you put on the wall
And screw into the stud and again if you didn’t have a stud finder you’ll be screwing these into a wall anchor now align the shelves with the dial pin and slide the shove into place repeat the same process for the remaining shelves and add the safety screw
You could also use a piece of scrap wood to help you space the shelves properly you
Q1: What are floating shelves?
A1: Floating shelves are shelves that are mounted to the wall without the use of visible supports. They appear to be “floating” on the wall, hence the name.
Q2: What materials are floating shelves made of?
A2: Floating shelves are typically made of wood, metal, or glass.
Q3: How do you install floating shelves?
A3: Floating shelves are typically installed using wall anchors and screws.
Q4: What are the benefits of using floating shelves?
A4: Floating shelves are a great way to add storage space without taking up too much floor space. They also provide a modern, minimalist look to any room.
Q5: Are floating shelves difficult to install?
A5: Floating shelves are relatively easy to install, but it is important to make sure that the wall anchors and screws are properly secured. It is also important to make sure that the shelves are level and securely attached to the wall.