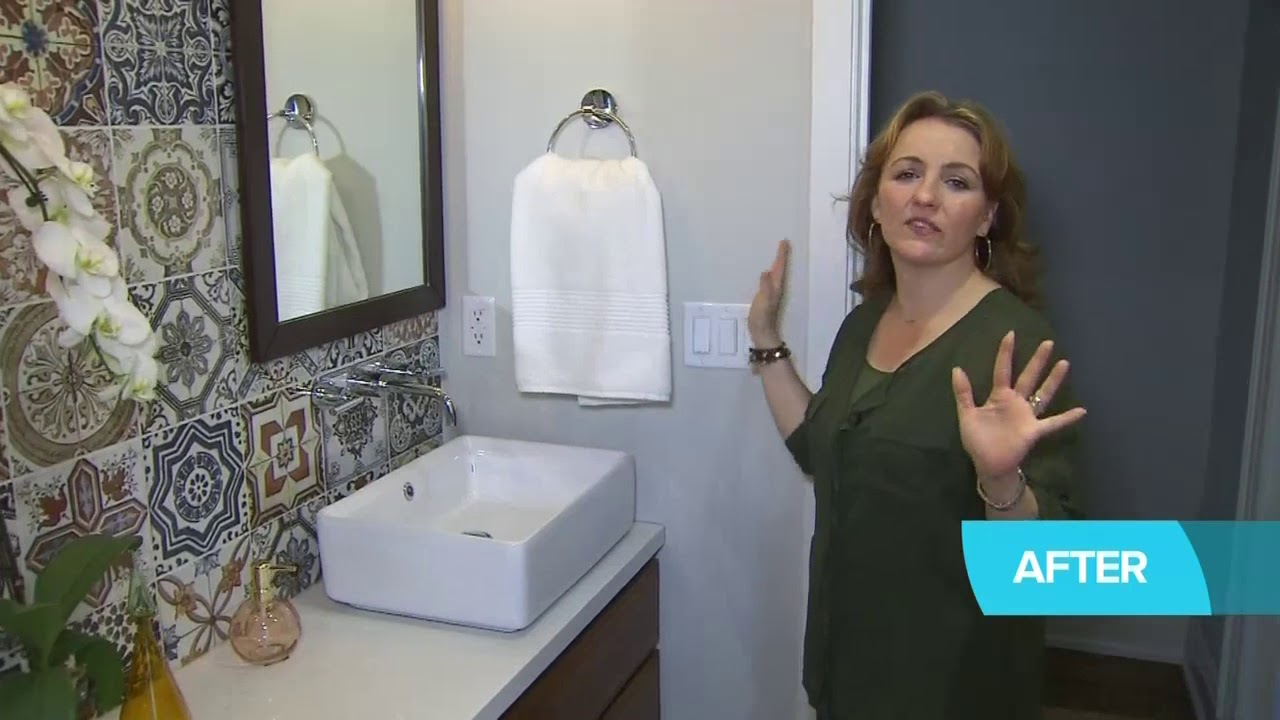
Installing a Herringbone Tile Shower
Modern bathroom herringbone tile patterns
My first suggestion for a modern bathroom herringbone tile pattern is to start with a classic white and gray color scheme. This will create a timeless look that will never go out of style. To create the herringbone pattern, begin by laying out the tiles in a staggered pattern, with each tile slightly overlapping the one before it. Once the pattern is laid out, use a level to make sure the tiles are even and then use a grout to fill in the gaps between the tiles. Finally, seal the grout to protect it from moisture and dirt. With this classic herringbone pattern, you can create a modern and stylish look for your bathroom.
How to Install HERRINGBONE Tile in a Shower
are a great way to add a unique and stylish look to your bathroom. Herringbone tile patterns are created by laying tiles in a zigzag pattern, which creates a distinctive look. This pattern can be used on the floor, walls, or both, and can be used with a variety of tile materials, such as ceramic, porcelain, and natural stone. Herringbone tile patterns are a great way to add a unique and stylish look to your bathroom. They can be used on the floor, walls, or both, and come in a variety of materials, such as ceramic, porcelain, and natural stone. The zigzag pattern creates a distinctive look that can be used to create a modern, contemporary, or traditional look. With the right design, herringbone tile patterns can be used to create a beautiful and unique bathroom.
Herringbone Tile Shower Installation
Installing a herringbone tile shower can be a great way to add a unique and stylish look to your bathroom. Herringbone tile is a classic pattern that has been used for centuries in homes and businesses. It is a timeless look that can be used in a variety of ways to create a beautiful and unique shower. Here are some tips for installing a herringbone tile shower.
Preparing the Shower Area
The first step in installing a herringbone tile shower is to prepare the shower area. This includes removing any existing tile, cleaning the walls, and making sure the area is level. Once the area is prepared, you can begin laying the tile.
Laying the Tile
When laying the tile, it is important to start in the center of the shower and work your way out. This will ensure that the herringbone pattern is even and symmetrical. You should also make sure to use a level to make sure the tiles are even and level.
Grouting the Tile
Once the tile is laid, it is time to grout the tile. Grouting the tile will help to seal the tile and prevent water from seeping through. It is important to use a high-quality grout that is designed for use in showers.
Finishing Touches
Once the tile is grouted, you can add the finishing touches to your herringbone tile shower. This includes adding trim pieces, caulk, and sealant. These finishing touches will help to protect the tile and make it look even more beautiful.
Conclusion
Installing a herringbone tile shower can be a great way to add a unique and stylish look to your bathroom. With the right preparation and installation techniques, you can create a beautiful and unique shower that will last for years to come.
HERRINGBONE Tile Shower Installation 2025
Hey let’s go hey what’s going on guys on today’s project i’m going to show you how i installed this herringbone tile pattern on the shower wall behind me this video is going to give you a bunch of tips and tricks so that you can be a herringbone hero instead of a hairy bone

Head roll the intro So this is episode four in my bathroom remodel series in which i took the half bath you just saw and converted it to the full bathroom you’re seeing now check out my channel if you want to see more projects in this series now getting on today’s project the first
Thing you want to do is find the wall you’re going to start on and find the midpoint so i use a laser level to find the midpoint but you can do it just as easily with a tape measure and a pencil so here’s an illustration showing how
The midpoint should line up with your tiles and here i use the laser level to show you on the finished product where the midpoint is so once you have your your walls lined up you want to basically do a dry fit outside with the same dimensions
Just to get a rough estimate of what it’s going to look like and you can either cut the tiles with a wet saw or you can do what i did and use a dry tile cutter where it’s way easier way cleaner you just score the face of the tile
And then snap it just like that so once you’ve kind of figured out your dry fitting you’ve established the midpoint of that one wall and you’re ready to go you’re going to mix up your thinset i use schluter all set to maintain the the warranty for my schluter system so
Make sure you mix it all up in the ratio specified by the manufacturer and then i took a quarter inch by 3 16 inch v-notch trowel and started applying thinset you saw right there i’m using 1 8 inch spacers on on these tiles so i did a preliminary layout just to make
Sure that everything that i did out on the floor and all my planning was done correctly once it looked good and i confirmed that i took it off and i back buttered the tiles and applied them for their final installation so going back to this diagram i recommend that you install the
Tiles in the order one two three four as you see on the diagram this way you can use full tiles to get the preliminary layout in place and then it’s just a matter of filling in the full tiles first and putting them in place again using the back buttering and the
1 8 inch spacers to make sure i’m in good shape and then once you have the full tiles in you go back and you make the cuts with a dry tile cutter to uh to fill in any of the gaps so as you can see i’m doing a lot of the full
Tiles first and then i’m going back and filling in the gaps continuing on with the pattern use spacers in the gap between the shower pan and the tiles and because the shower pan is sloped you’re going to have to fudge it a little bit to make sure when you actually run the
Level across the tops of the tiles that it’s even so as you can imagine the center of the pan is going to be lower than the sides so you have to do a little bit of shimming to get it even across but continue to check that line with the
Laser level so you don’t get into trouble as you continue on with your installation so here i am continuing up the wall and once you start it the bottom is obviously the hardest it pretty much takes care of itself you just keep laying the tiles in the pattern
And go all the way up the wall like i’m doing here so you might not have a shower niche to contend with but you probably will have something to deal with so what i’m doing here is i’m making the marks um as they’re gonna intersect with the
Profiles for that shower niche and then making the cut so that i can apply the tiles around the niche and also maintain the herringbone pattern so as you can see there i had to do some creative cuts to get around that corner to do that i
Used a dremel tool with a diamond blade that’s one option or for some of the other ones i actually just used an angle grinder with a diamond blade but you’re going to need to do some creative cuts just to get it around the shower niche and if you want to see
A video of how i did the niche specifically i’ll have that linked in the description and also probably a card here so check out my channel if you want to check that out and here i am just doing the final touches as you can see when you get to
The top you might have some small pieces but just go ahead and cut it to size and close all the gaps so once you finish one wall the pattern is just going to wrap around to the next wall so where you cut a tile the part that
Wasn’t cut is going to wrap around as you’re seeing with that yellow tile it’s going to wrap towards us and just continue around the wall and here’s me kind of showing you what that looks like once it’s done and that seam has been caulked so following a pattern around the wall and
Continuing on at the bottom start with the full tiles and basically just fill in the small sections at the bottom again using the spacers to make sure that you have a flat laser line across and there’ll be some creative cuts that you have to make between the shower curb
And uh and the profile that you see there but again you just wrap it around just like i showed you and continue from the bottom up so one of my biggest lessons learned for this project was to clean as i go i had a lot of excess thinset i applied too much
And i let it dry on the tile so if you learn anything from me clean as you go so here i am around the shower valve having to make some circular cuts so like i alluded to earlier i use an angle grinder with a diamond blade
To accomplish all of those cuts to get a clean circle around the shower valve and you can just do something similar or you can use the diamond blade with the dremel it’ll just take longer and here i am after i made the cuts i’m installing them around the valve
As you can see it’s not perfect but the uh the shower valve comes with a plate that will cover up a good portion of any of our cuts so here i am making additional circular marks heading back to my angle grinder and cutting them out the same way as
Before pretty simple it’s not too hard to cut with that angle grinder and it ended up being actually a pretty good fit around the shower valve so i’m finalizing the last couple cuts around the shower valve but i’d like to take this time to say that i am not a professional tile layer
Um don’t take this as gospel take this as a i guess a step-by-step guide of how i did this project and got a result that i’m happy with but also understand that there’s other people who might have done things differently and might be better so there is the uh
The installation around the valve it looked pretty clean there and there i am filling in the last couple pieces on the top of that wall using my spacers and then again we’re going to caulk the top seam and i cut the shower spout with these drill bits with a diamond blade
I’ll have a video showing how to cut tile so i recommend you check that out if you want to see that in more detail so here i am on the final wall again i wrapped around the tile pattern from the existing wall um that we did first and then it’s just
Like before guys you follow on the pattern it kind of takes care of itself once you have the first couple laid and then install your spacers and uh and continue on with the pattern cutting as needed around the profile there and uh and then you’re just gonna go and finish up the wall
Remember to check the the level as you go up to make sure that all of the tiles are on the same plane and remember to clean as you go the last thing you want to do is is have what happened to me and have all this thinset dry up on your tiles that
You have to scrape up later so clean as you go check the tile level with a laser level as you continue up the wall and if you follow those steps you should be in good shape as you finish the project this is a public service announcement that the herringbone pattern
Generates a ton of waste so you’ll have a lot of tile to throw away unfortunately and here i am showing you that i was a bonehead and i let thinset dry up so don’t be like me don’t have to scrape off your tile clean as you go if you learn anything
From this video please just clean as you go and then to finish the project you need to apply grout we use an epoxy grout and we’ll show you how to do that on another video and then the last step is just to caulk the seams and then you are all completed
Thank you guys so much for watching if this video helped you out at all i really would appreciate if you could hit the like button for the youtube algorithm leave a comment with any of your questions and also if you want to see more projects like this
Or how i did the rest of the projects in this bathroom i really would appreciate if you subscribe to the channel it really helps me out and i’ll be doing a fat giveaway when i get to a thousand don’t know what fat means but trust me Thanks You
Modern Bathroom Herringbone Tile Patterns
What is a herringbone tile pattern?
A herringbone tile pattern is a classic design that features tiles laid in a zigzag pattern. It is often used in flooring, but can also be used in walls and backsplashes.
What are the benefits of using herringbone tile patterns in a bathroom?
Herringbone tile patterns can add visual interest to a bathroom, making it look more modern and stylish. They can also help to create a sense of movement and flow in the space. Additionally, herringbone tile patterns are easy to clean and maintain.
What types of tiles are best for a herringbone pattern?
Ceramic and porcelain tiles are the most popular choices for herringbone tile patterns. However, you can also use natural stone, glass, and metal tiles.
How do you install herringbone tile patterns?
Herringbone tile patterns are installed by laying the tiles in a zigzag pattern. It is important to make sure that the tiles are laid in a straight line and that the grout lines are even.
What are some tips for designing a herringbone tile pattern?
When designing a herringbone tile pattern, it is important to consider the size of the tiles, the color of the grout, and the overall layout of the pattern. Additionally, it is important to make sure that the tiles are laid in a straight line and that the grout lines are even.